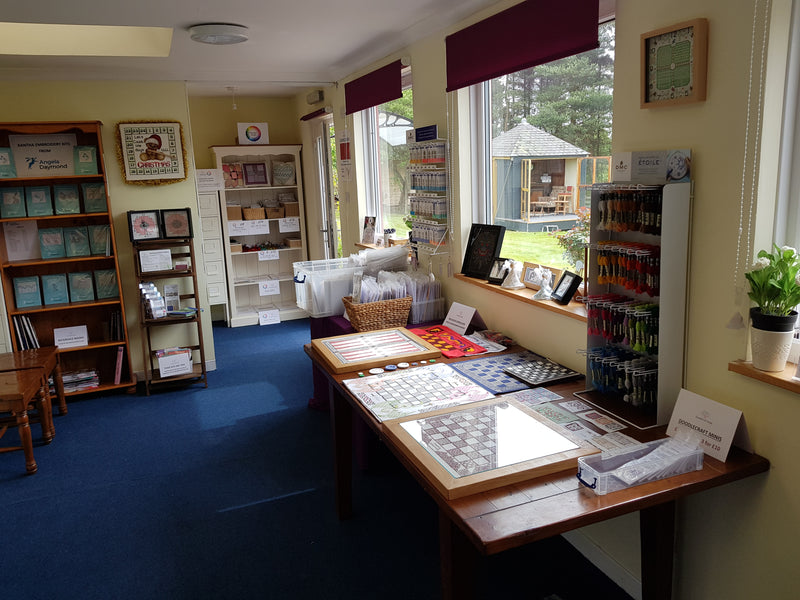
1. Choosing your Design

Whatever your level of experience you should always choose a design that you like, if you don’t like what you are stitching then, odds are, you will never finish it. There are so many different designs available for every level of experience from beginners, where you can learn the basic techniques on larger count fabric, to intermediate where you can grow your knowledge of stitching and through to experienced where you can challenge yourself with larger more intricate designs.

 2. Types of Kit

There are usually three types of kit available:

Full Kit - where everything to complete the design is included in the kit i.e. the fabric, the threads, the instructions and the chart.

‘Chart Only’ Kit -  where you will only receive the instructions and the chart and you need to supply the fabric and threads yourself.
Downloadable Kit -More and more kits are being made available as PDF downloadable kits which can save you on postage and you receive the kit almost immediately. Once you have downloaded the kit you have the option of printing it and using it like the paper kits or you could load it onto a tablet which enables you to zoom in and out and enables you to see the chart at your optimum size. You will need to download a PDF viewer app but there are a number of these which are free, some even allow you to mark off your chart as you go.
Most Full Kits will include more thread than is required for the design so it’s a good idea to keep any additional threads, carefully stored on a thread card or in a small bag and clearly marked with the manufacturer and colour code, you can then use these saved threads towards any thread requirements if you were to buy a Chart Only kit.

 3. Preparation

You now have everything ready to start your design, whatever fabric you are using it is advisable to treat the cut edges to stop them from fraying. There are a few ways you can do this; if you have a sewing machine you can use a zig zag stitch around the edge of the fabric or you can use an overlocker machine to ‘overlock’ the edges of the fabric, alternatively you could use a glue, many types are available to stop fraying, or you can hand sew around the edges using blanket stitch.

It’s also advisable to have all your threads sorted into numerical order using the colour shade number, it makes them easier to identify while you are stitching. You can use threads cards to store your threads and some kits come with threads already sorted onto thread cards - these are pieces of card with holes punched into them and the colour shade number printed next to the hole. You can easily make your own thread cards by cutting a 2-inch-wide strip of card and using a hole punch to create holes down the long side.

 4. Starting to Stitch

Usually when starting to stitch a counted design you would find the centre of the chart and the centre of the fabric and start stitching at the centre, this ensures that your finished design will sit at the centre of the piece of fabric. However, if you are stitching one of the DoodleCraft Design Games boards I find it easier to start in the top left hand corner and work across and down the fabric. All DoodleCraft Design kits provide an additional 2 inches of fabric around the design (you will need to check your fabric from other designers) so to find your starting point you need to start at the top left hand corner of the fabric and measure 2 inches from the top edge and mark with a stitch, pencil or pin and then measure 2 inches in from the left edge of the fabric, the point where these two lines meet will be the place you need to start your stitching.

 5.Stitching

To get an even finish across your finished design you need to pay attention to the tension of the fabric and the thread. You can manage the tension of the fabric by using a hoop or frame which stretches and holds your fabric so that each stitch is worked evenly. You also need to try and keep the tension on the thread regular, for example try not to pull the thread too tightly as this will pull the fabric out of shape but if you do not pull the thread tightly enough then the stitches will look baggy.  I always find that I stitch to a rhythm which has come over time,  if you are not sure how to do this try relaxing and doing a few rows of practise stitches before you embark on your design.